|
1
|
On the Database Server, from the Start menu, click Settings > Control Panel > Add or Remove Programs. |
|
2
|
In Add or Remove Programs dialog, select PowerSchool SMS Database <version>, and then click Change. |
|
3
|
In the Welcome dialog, choose Database Maintenance. Click Next. |
|
4
|
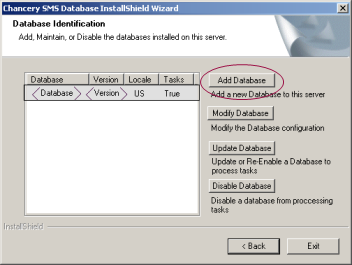
In the first Database Identification dialog [Figure 161], click Add Database. |
Figure 161: Database Identification dialog

|
5
|
In the second Database Identification dialog, choose Create Historical Database. |
|
6
|
For Active Database Name, select the active database. Enter the database Username and Password. Click Next. |
|
7
|
In the third Database Identification dialog, enter the SQL administrator password. Enter the database name, user name, and password for the Historical Database. Click Next. |
|
8
|
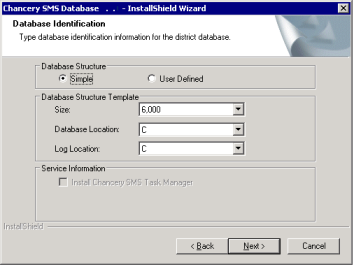
In the fourth Database Identification dialog [Figure 162], in the Database Structure section, choose one of the following: |
|
=
|
To have the installer create the database file groups, select Simple. |
|
=
|
To customize the filegroup layout, select User Defined. |
Figure 162: Database Identification dialog — database specification

|
9
|
In the Database Structure Template section, select the appropriate size, database location, and log location. |
|
11
|
To complete the creation of the Historical Database, follow the on-screen instructions. |


