Customizing the Class Description
Watch this video demonstration to learn how to customize your class description, to add detailed information about the class, which parents, students, and guardians may view in the PowerSchool Student and Parent Portals.
Click the Play button to continue.
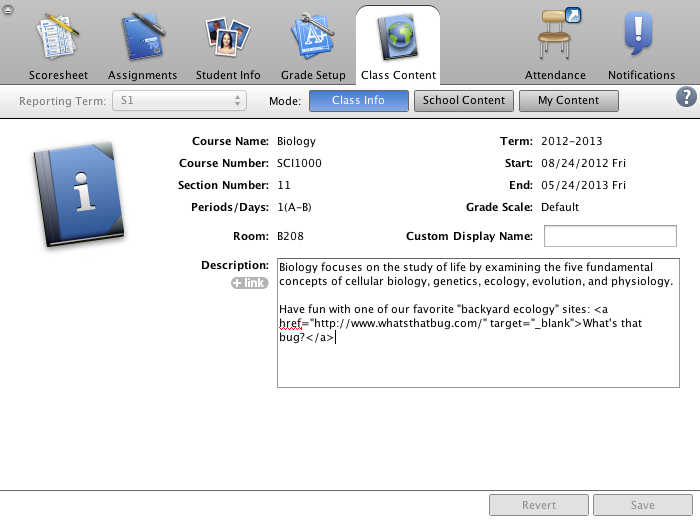
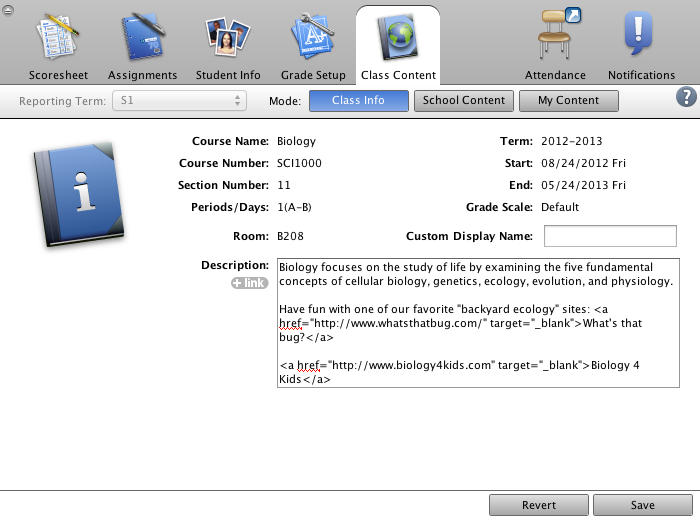
To begin customizing your class description, start in the Class Info mode on the Class Content tab.
Use the Description field to enter detailed information about the class. You can enter a description of the class using plain text, HTML-formatted text, or a combination of both.
If the spell check feature is enabled in the gradebook preferences, then misspelled words are underlined in red.
To insert a link to a website in the Description, click + link.
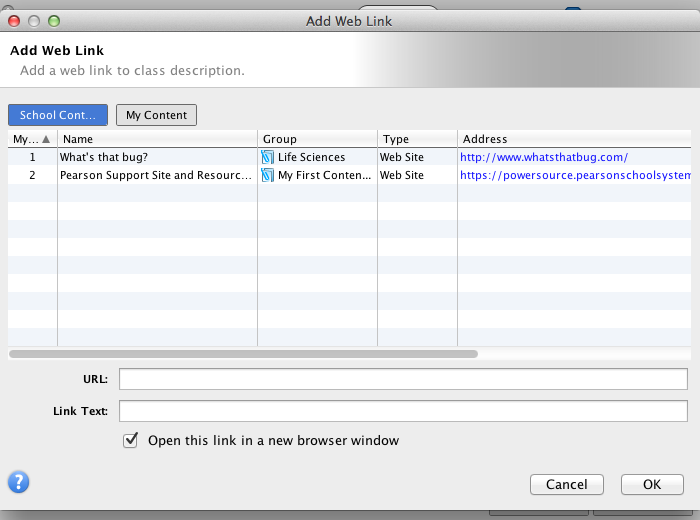
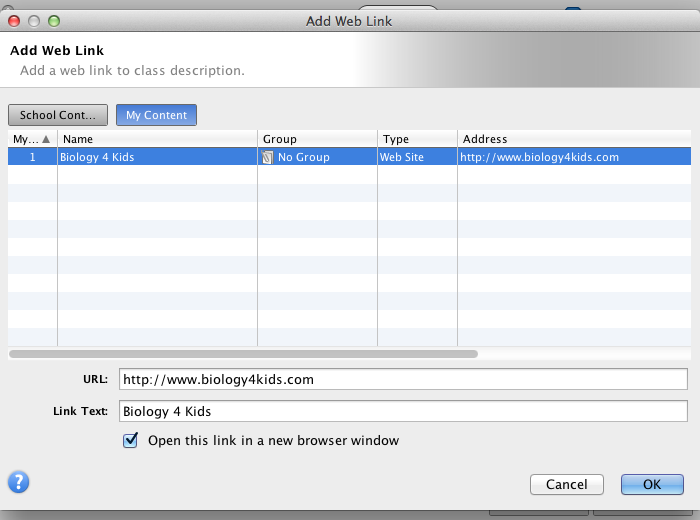
The Add Web Link window displays existing website links or links to documents that are available for you to use.
The School Content category includes links that are published to the gradebook by your PowerTeacher administrator.
Your administrator might add a link to a document such as a lesson plan, or add a link to a website, such as a scientific site with resources for a specific course.
In this case, two website links are available. To insert one of the links into your class description, first click the name of the link.
The website address appears in the URL field and the name of the website appears in the Link Text field.
Make sure “Open this link in a new browser window” is checked. This will open the website in a separate browser window, so that parents or students won't have to navigate back to the PowerSchool Student or Parent Portal after viewing the website.
To add the link, click OK.
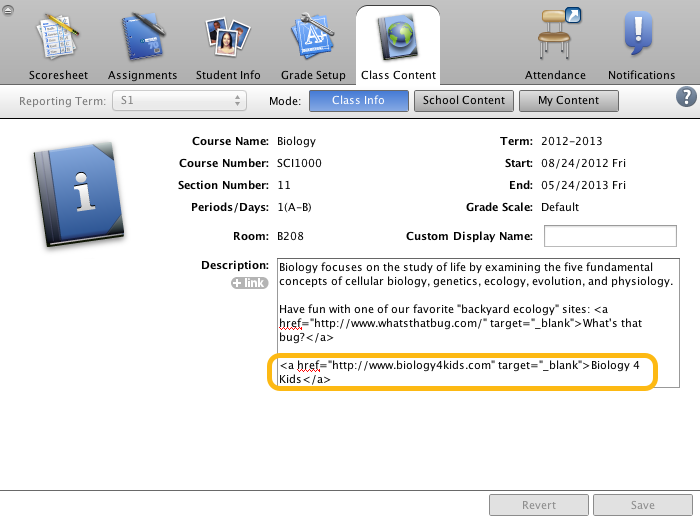
The website link is added to your class description.
Next, add more text and format your description to separate the link from the existing text to make it easier to read. When you are satisfied with your class description, click Save.
When you save your class description, the text and link appear automatically in the PowerSchool Student and Parent Portals.
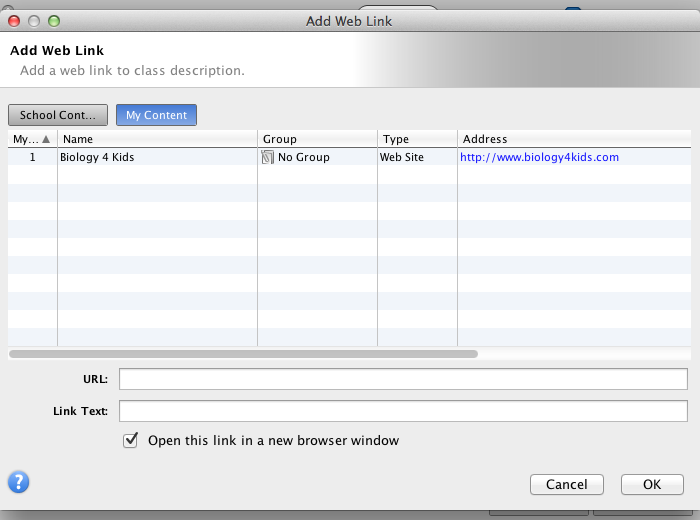
Now add your own website link. Click My Content to switch to the My Content mode.
Since you haven’t added any of your own content resources yet, you do not see any website links or documents listed under My Content. To add a new resource, click the + sign at the bottom of the pane.
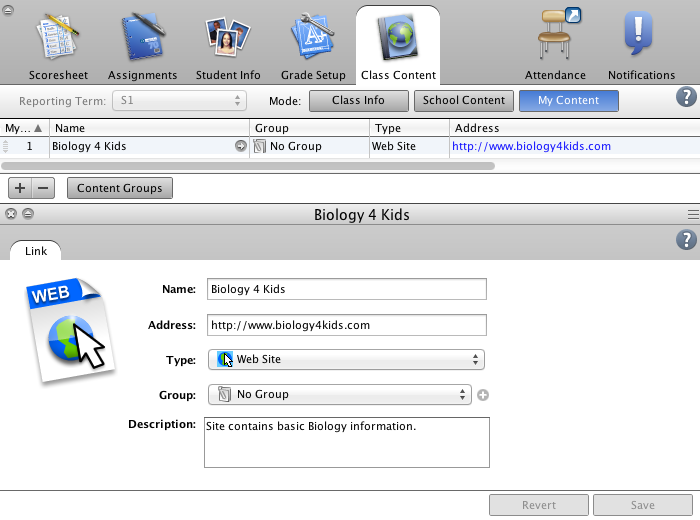
By default, the New Link pane opens below the My Content pane. First, enter the name of the resource you’re adding to your content page. Since you want to add a web link, enter the URL in the Address field.
Next, identify the type for this resource.
You have the option of linking to several different types of resources, but for the Biology 4 Kids website, use the default selection of Web Site.
Next, choose a group to organize your link by category.
Since you haven’t set up any content groups, such as Life Sciences or Hands-on Activities, to categorize similar links, use the default selection No Group.
Using “No Group” will not affect how you use your link.
Then, add a description of the website. Adding a description is optional, but can serve as a reminder as you revisit your content resources throughout the year.
To save the new link, click Save.
The new link for the “Biology 4 Kids” website is added in the My Content mode.
Now that you’ve added your own content resource, you can add the link to your class description. When the video ends, scroll down to practice adding a link to a class description.
Try it! Add a Link to a Class Description
Objective:
Add the “Biology 4 Kids” website link to your first period class description.
- Return to the Class Info pane.
- Add a link to the class description.
- Add a web link from My Content.
- Select the “Biology 4 Kids” website.
- Add the link.
- Save the new class description.
- Excellent! You added a web link from My Content to your class description.