Using the Student Info Tab
Back to School Night is just around the corner. You’ve spruced up your classroom, but you want to make sure you know some details about your students before you meet their parents.

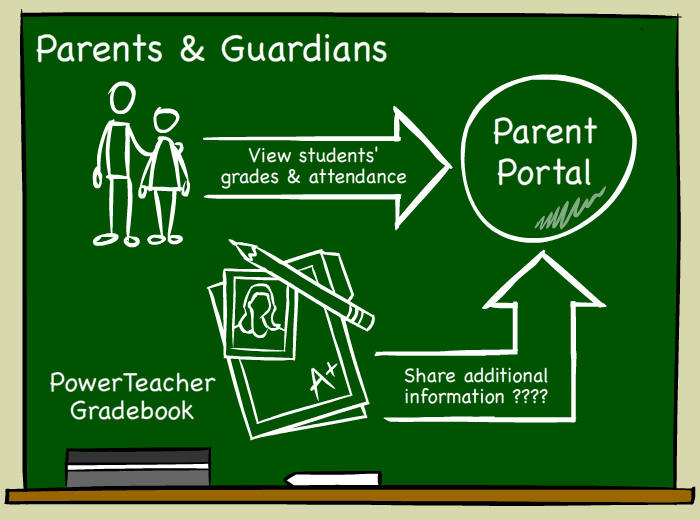
Also, you know that many parents and guardians use the PowerSchool Parent Portal to view their students’ grades and attendance, but you’re wondering if you can use PowerTeacher Gradebook to share additional information with them about your classes.
Scroll down to learn how to view student information and share class details in the gradebook.
How to View Student Information
Watch this video presentation to learn how to view student information in PowerTeacher Gradebook and customize the display of student names.
Click the Play button to continue.
For more information on how to perform this task, download the Quick Reference Card by clicking Resources above.
To prepare for Back to School Night, start by reviewing details for one of the students in your class, Emmy Ahlberg.
Click the Student Info tab.
The Student Info tab displays a list of students enrolled in the selected class, along with each student’s personal demographics information, and the grade scale by which they are graded. The students listed are enrolled in the class that you selected in the Classes pane.
To rearrange the view of student information, click and drag a column header to where you would like to see it.
To view the Student Number column before the students’ names, click the Student Number column and drag it to the left.
You can also add new columns that you can use to record additional student information.
At the beginning of the school year, students paid for lab materials and were assigned lab ID numbers. Students use their lab IDs to sign in to a science software application the school purchased.
In case any parents ask what their student’s lab ID is on Back to School Night, add an extra column to record the identification number.
To customize your class columns, click Extra Class Columns.
To edit the first custom column, highlight Custom 1 and click Edit.
In the Column Name field, enter Lab Supplies.
Then, in the Description field, enter ID number for lab supplies.
To save the column name and description, click OK.
Your customized class column appears in the extra class columns list.
If you decide to use all of the custom columns that appear automatically in the gradebook, you can click Add to create additional columns.
To finish modifying your custom column, click Close.
On the Student Info tab, scroll to the right to view your new column.
Enter the students’ lab ID numbers just as you would you enter assignment scores. That way, you can refer to the list if any parents inquire about their students’ ID numbers at Back to School Night.
To save your changes, click Save.
When you scroll to the left to view your student list, you realize that you need to enter the students’ preferred names in the gradebook, which will be a helpful reminder on Back to School Night.
It would also be helpful if the students’ preferred names appeared on the Scoresheet tab and in gradebook reports.
To configure the gradebook to display students’ preferred names, from the PowerTeacher Gradebook menu, choose Preferences.
On the Preferences window, click the Student tab.
In the Student Name Display section, check Use Preferred Name* when available.
On this tab, you also have additional options for how the gradebook will appear and how student names will be sorted, such as choosing to sort students by first name or by a custom order.
Use the default selection to sort student names by last name.
To save your changes, click OK.
Now that you have the students’ information organized the way you’d like, you can take a look at an individual student.
Click the right-facing arrow next to a student’s name to bring up demographic information about the student. Let’s look at Emmy Ahlberg’s information. Click the arrow next to her name.
The student detail pane for Emmy Ahlberg opens below the list of students.
You may notice several icons near the top of the student information pane. The icons alert you to important things you need to know about your students, like medical conditions, family situations, or other considerations.
It looks like Emmy’s record has a red medical icon, so you know she has a medical condition that you should know about. Click the medical alert icon.
The Medical Alert window opens, showing that Emmy had an injury.
Click OK to close the Medical Alert window.
During the school year, you may have to contact a student or a student’s parent or guardian by phone. Click any phone number in the student pane to prompt a larger, eye-friendly number to appear.
Click anywhere in the PowerTeacher Gradebook window to make the enlarged number disappear.
After Back to School Night, you might need to follow-up with a parent via email. Copy the parent’s email address by clicking the guardian email address and then selecting Copy.
Then you can paste that email address into your email program and send an email.
When the video ends, click Next below to learn about another area of PowerTeacher Gradebook where you can add information about your classes that parents can see and use: the Class Content tab.